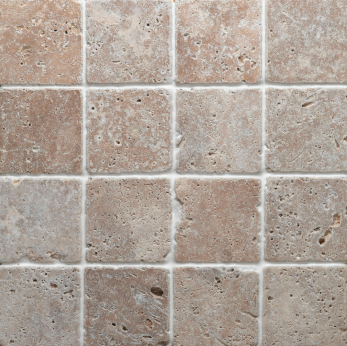
If you are re-doing your bathroom, one of the most important considerations will be the flooring. You want a floor that is water-resistant and stylish, so tile is one of the most popular options because it’s both durable and available in a variety of sizes and colors. If you follow the below instructions, you can even re-tile your bathroom yourself. The first step is to purchase enough tile for the entire project – and make sure to buy them all at once as tiles from a different stock may be different in color/pattern.
Before you start, make sure you have the following materials: thinset, tape measure, level, spacers, trowels, wet saw (for cutting tile), sponge, rags, sealant, apron, and safety glasses.
- Begin by making sure the floor is clean and flat, and vacuum or sweep up any dust or debris. Make sure whatever surface you’re placing the tiles on is structurally sound and strong, because some tile is heavy.
- Lay out the tile how you like according to color and pattern by choosing a starting point – usually the center of the floor. Use chalk lines once you determine the starting point to keep the design square.
- Next, prepare your thinset mortar. Spread some of the material over a small area at your starting point using a trowel. Take the notched edge of the trowel and comb the material into ridges.
- Place a tile piece at the starting point and press downward. Make sure you have placed enough thinset to cover the entire back of the tile piece. Work your way around the room to the corners and edges so if you have to make cuts, that’s where they will occur. Use a sponge and water on the tiles to wipe away excess.
- Once you’ve tiled out to the edges, it’s time to make custom cuts for the odd-shaped places, such as around the toilet or bathtub. Mark the cut lines carefully with a pencil, and use a tile cutter for straight cuts. If you have to cut more complex shapes, like curves, use a rod saw.
- Now that all of your tiles are placed, it’s time to grout. First, mix the grout until it has a consistency similar to peanut butter. Next, spread the grout, pressing it between tiles using a grout flout, making sure to completely fill all of the spaces and packing the joints firmly. Take a damp rag and remove any remaining grout by rubbing diagonally to the tile joints.
- After the grout has set for 24 hours, wipe it with a dry rag to remove any haze. Then, apply sealant.
To learn more about the type of flooring best for your bathroom, contact a West Chester tile flooring expert today.


