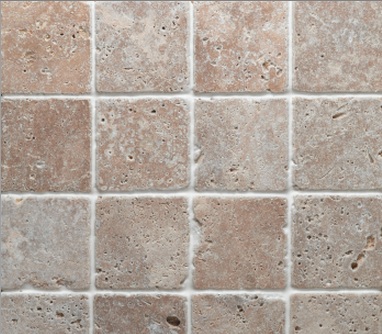
Changing the backsplash in your kitchen can instantly brighten up your kitchen’s appearance. Ceramic tile is a popular choice because it is durable and easy to clean. You can buy tiles in different textures, shapes, sizes, and colors to make your backsplash a mosaic of you own.
Read the following steps for a do-it-yourself project:
- Remove all objects from your kitchen. That includes your stove and appliances that sit on your countertop. Remove switches and cover plates to any outlets that will be in your way.
- Cut existing backer board. Install new backer board for new tiles, which attaches to drywall, and is water resistant to prevent damage to the wall. If you are tiling over a painted surface, you can skip this step and hand sand the wall until the surface is rough. Then wipe dust off with a rag.
- Determine the length of your backsplash. Measure the length from the counter to the bottom of your cabinet to determine the amount of materials you will need.
- Arrange a pattern. Dry lay out the tiles on your countertop in the pattern you planned so you can see how it will look. Note where the focal point of the pattern will lie. Scoring cutters are perfect for areas where you will need oddly shaped tiles. They are inexpensive and easy to use.
- Apply tile mastic or thinset to walls and begin at the bottom row. Use a notched trowel to apply mastic to the walls. Do not apply too much at once because it will dry and tiles won’t set. Start from the center and work your way out applying adhesive mastic to walls before laying tiles.
A tiled kitchen backsplash keeps water and food from staining your walls. You can spruce up the entire appearance of your kitchen at a low cost by changing this small area. Convert old space to a creative attention grabbing area in your kitchen. For more advanced kitchen remodeling projects, contact Bucks County handyman Chris Urban at 215-295-4609.


